
From Hive to Glow — A Simple Beeswax Candle Guide for Handmade Gifting
Every year when the air turns crisp and the bees tuck in for winter, I get the itch to make something by hand. Maybe it’s the slower pace or the scent of beeswax that lingers in the Honey House, but there’s something comforting about melting, pouring, and gifting something made from the hive.

The best kind of slow afternoon — melting wax and making something that glows.
Beeswax candles are one of my favorite cozy-season projects. They’re simple, they smell faintly of honey and sunshine, and they make a gift that feels thoughtful without being fussy. Plus, every candle starts with the same wax our bees worked all summer to build — which feels a little bit like bottling up a season of hard work and turning it into light.
The Magic of Beeswax
Besides being beautiful and natural, beeswax candles burn clean — no soot, no toxins, no fake floral scents.
They naturally purify the air and release a subtle honey aroma that feels like the farm on a warm day.
Unlike paraffin or soy, beeswax doesn’t need much fuss. It’s pure, simple, and as close to the hive as you can get.
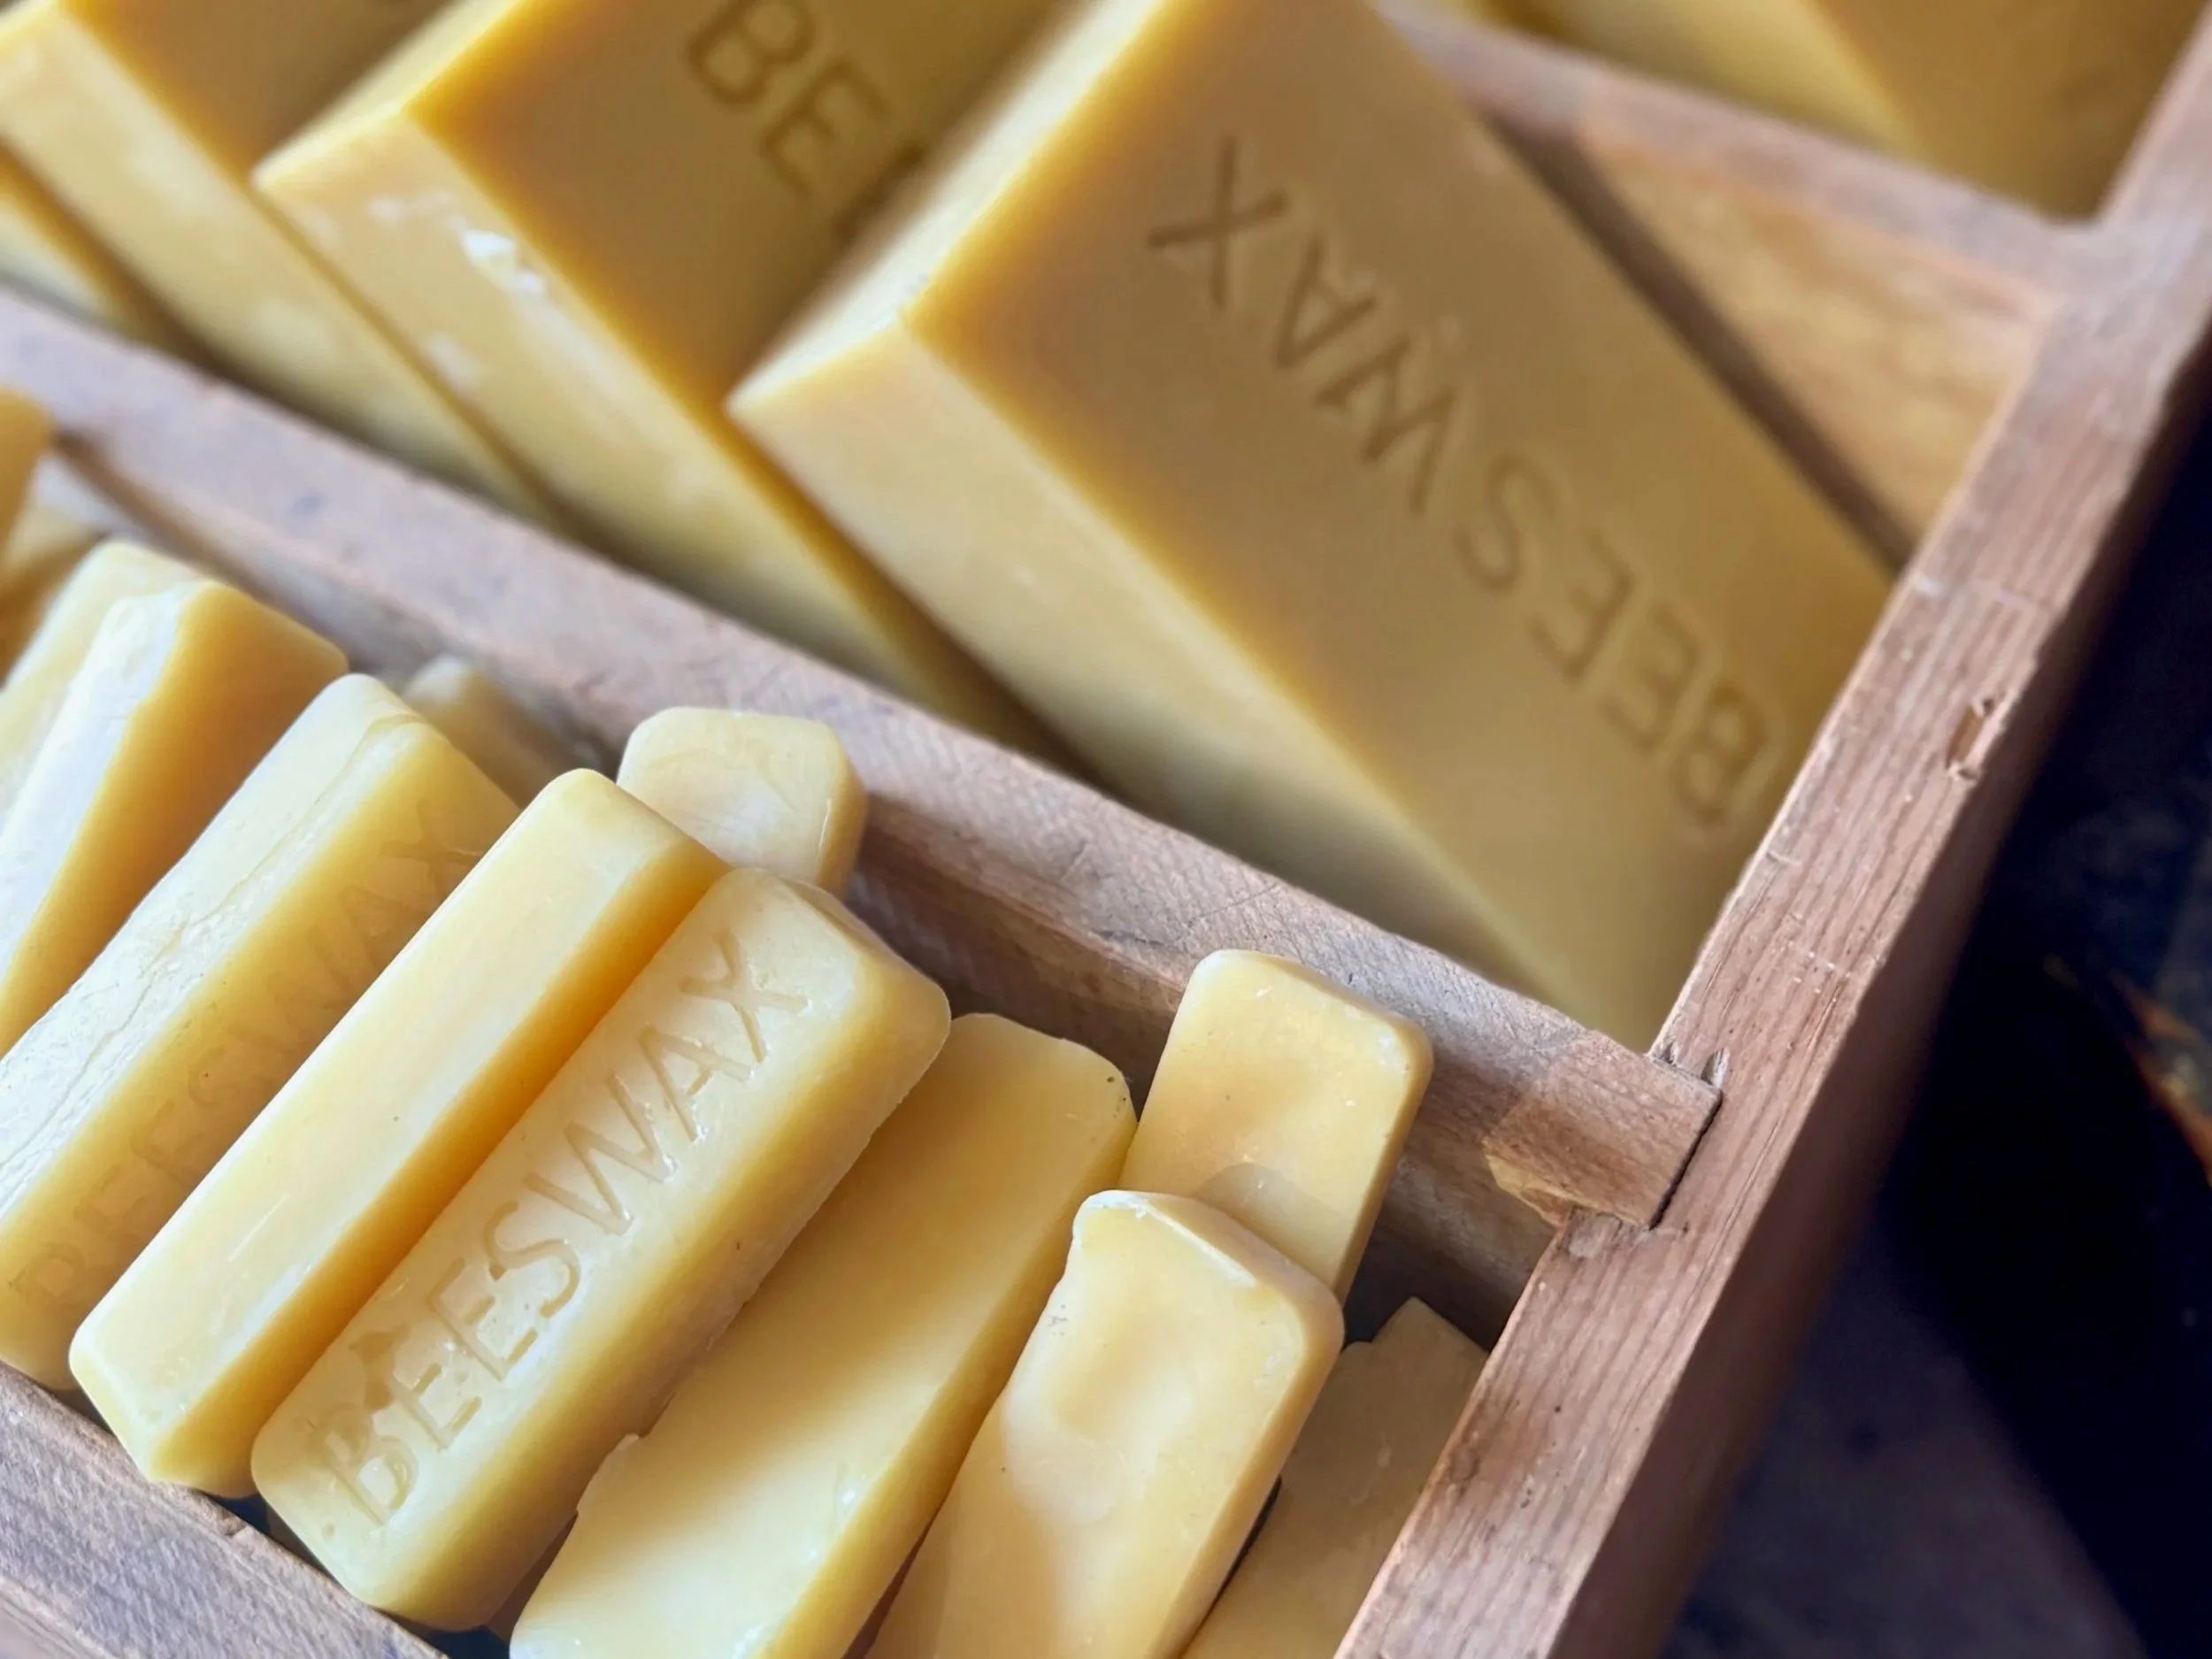
Every candle starts here — golden beeswax poured right from the hive. Grab yours at the farmstead!
From Our Hives to Your Hands

Every bar of beeswax we use was first crafted by the bees — we just help shape their hard work into something you can hold.
Each Fat Head beeswax bar is melted down from comb our bees built during honey harvest.
We clean it, pour it, and get it ready for you to turn into something golden of your own.
What You’ll Need
Don’t overthink this — you don’t need fancy molds or special gear. Half the fun is improvising.
Fat Head Honey Beeswax Bars (grab them at our farmstand)
Coconut oil — about 20–30% of your total wax weight (helps your candle burn smoother and slower)
Cotton wicks
Heat-safe containers — thrifted crystal bowls, jelly jars, teacups or even old candle jars work too! yay!
A pan or double boiler setup (a Mason jar in simmering water works like a charm too)
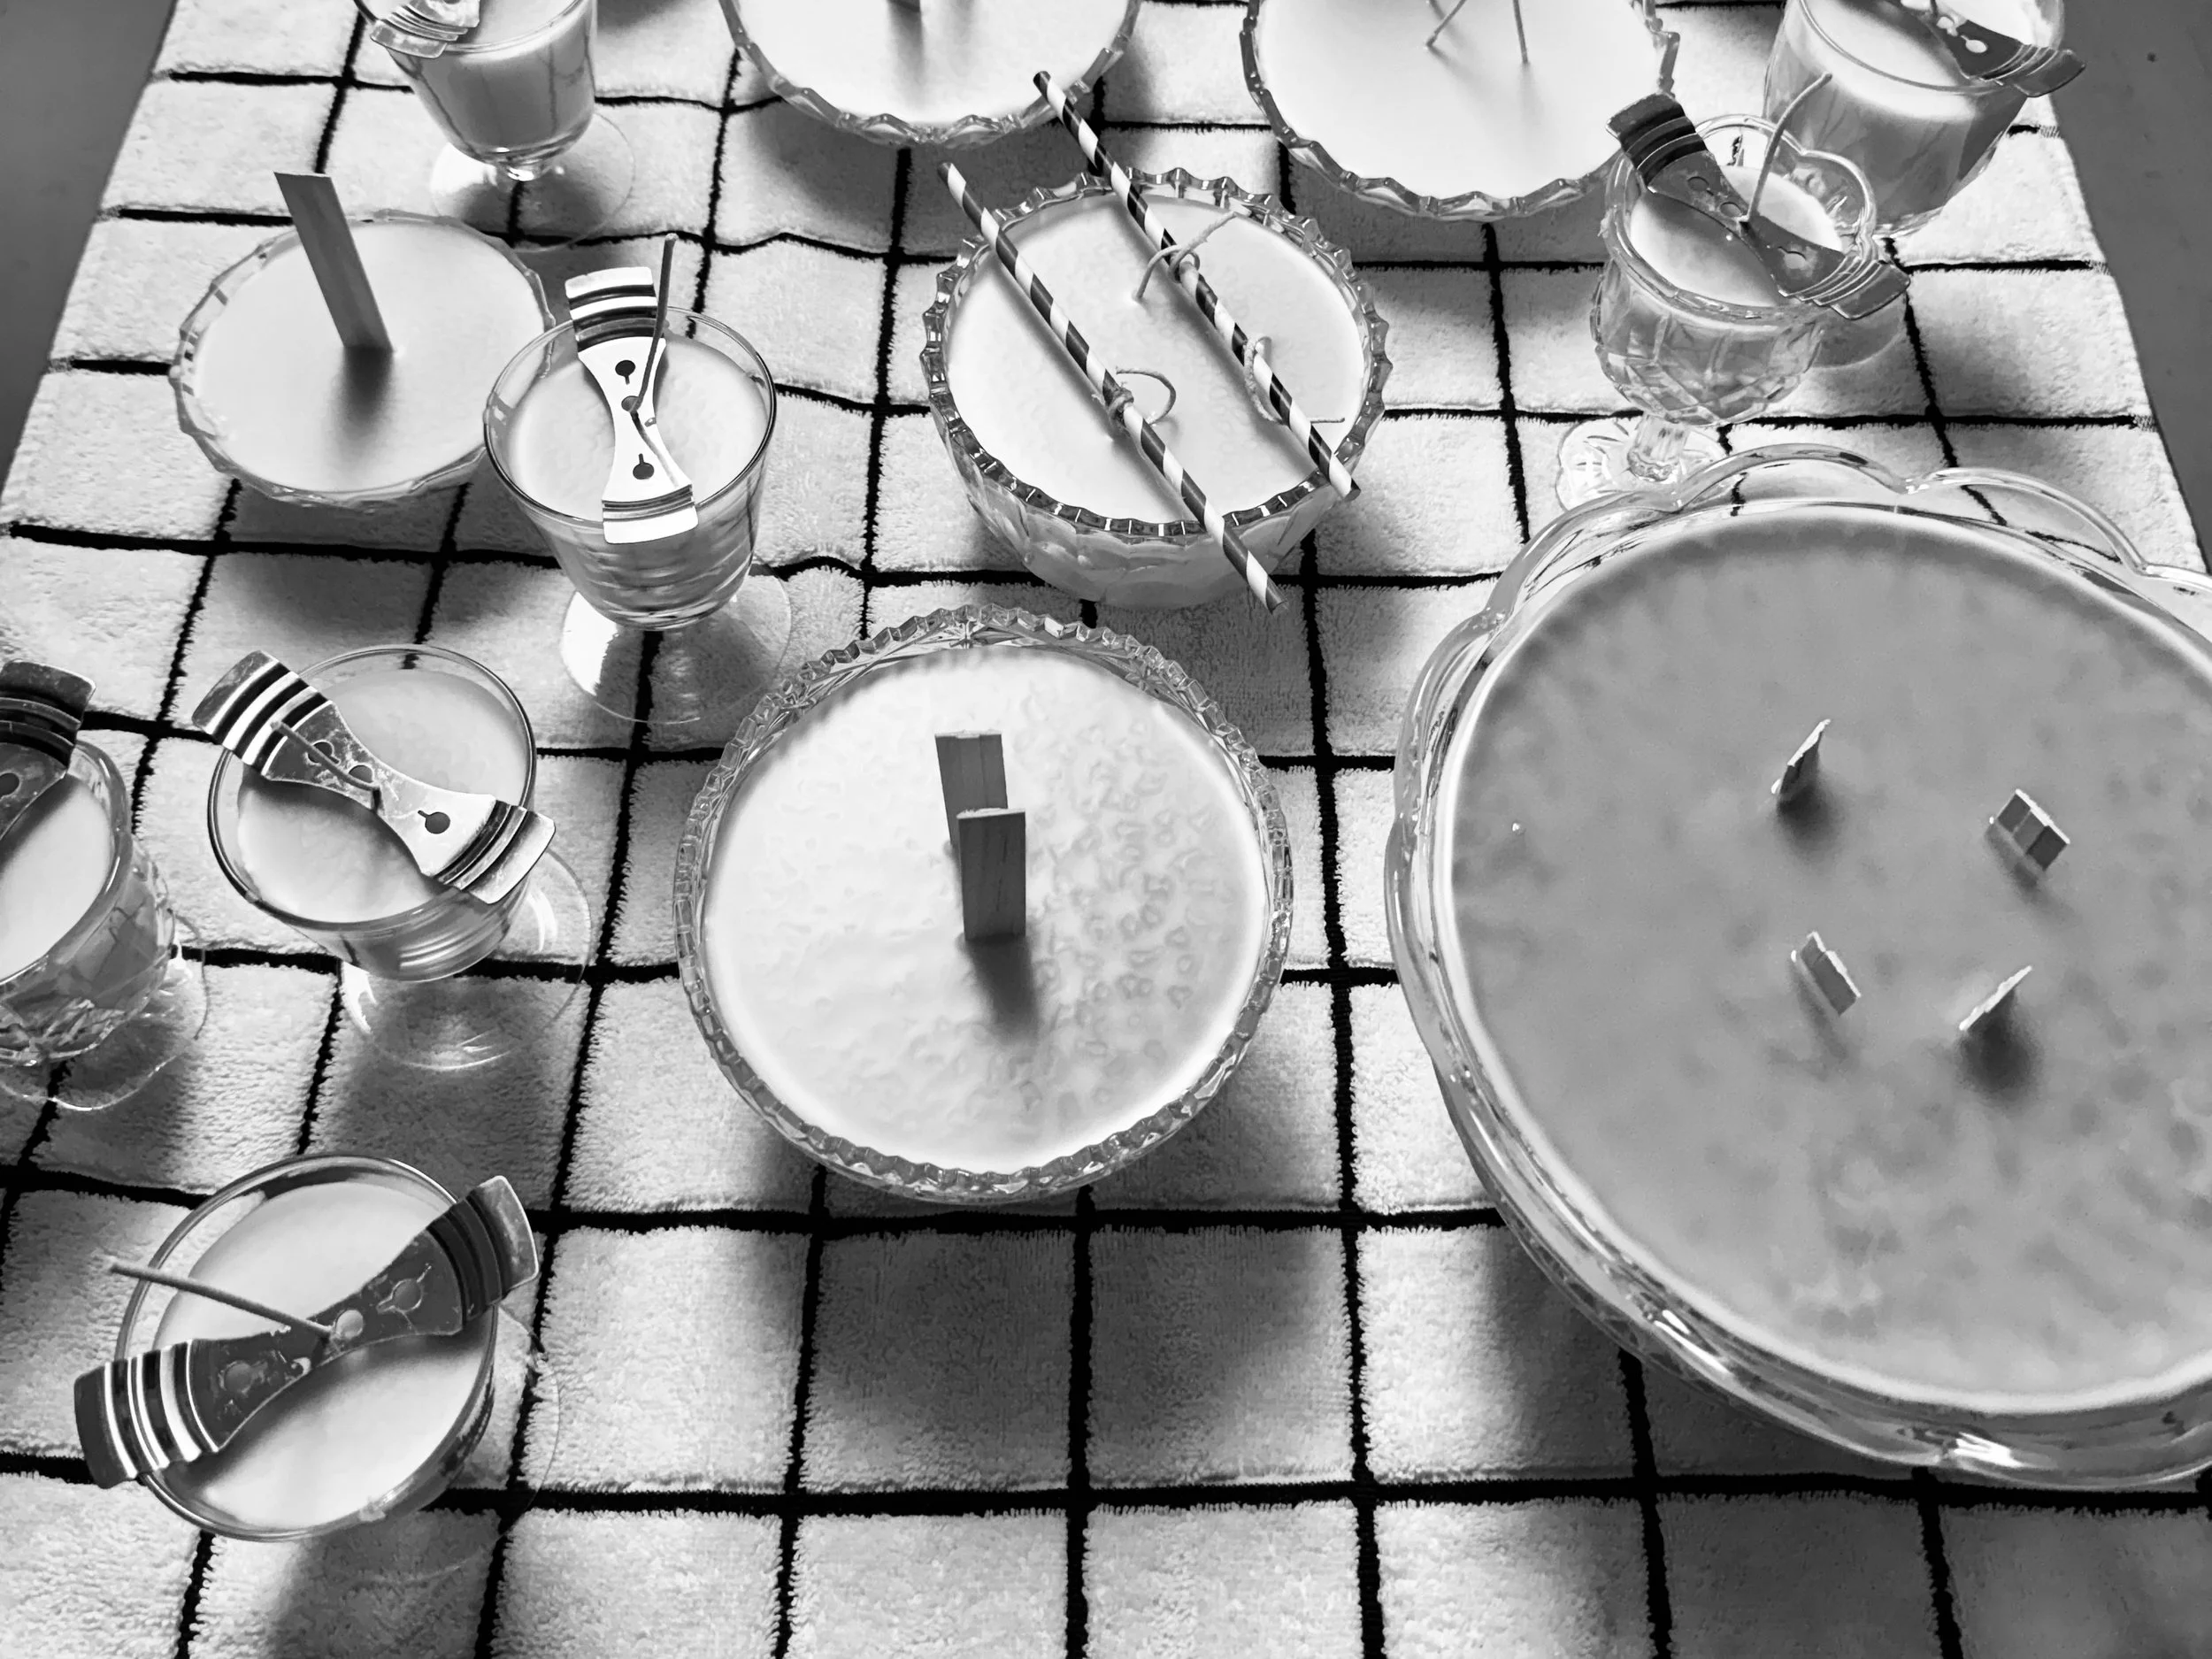
Don’t worry about fancy molds — some of the prettiest candles start in old crystal bowls or thrifted finds.
How to Make Them
Melt the Wax
Chop your beeswax into small pieces and melt it slowly using your double boiler setup. Beeswax burns hot, so take your time and keep the heat low.Blend with Coconut Oil
Once melted, stir in your coconut oil until the mixture is smooth. The more oil you add (within reason), the longer and cooler your candle will burn.Prepare Your Containers
Secure your cotton wick in the center — a clothespin or pencil balanced across the top works like a charm.Pour and Cool
Carefully pour the melted wax into your containers and let them cool completely before trimming the wick.Trim, Light, and Admire
Keep your wick around ¼ inch long for a steady flame and clean burn.

Don’t toss the old candle jars…give them a second life with a little wax and wick magic.
Gift or Keep
Wrap your candle with a bit of twine, a sprig of rosemary, or a handwritten tag.
Pair it with a jar of honey for the perfect hostess or teacher gift — or keep it for yourself for those quiet evenings when the house smells like warmth and wax.
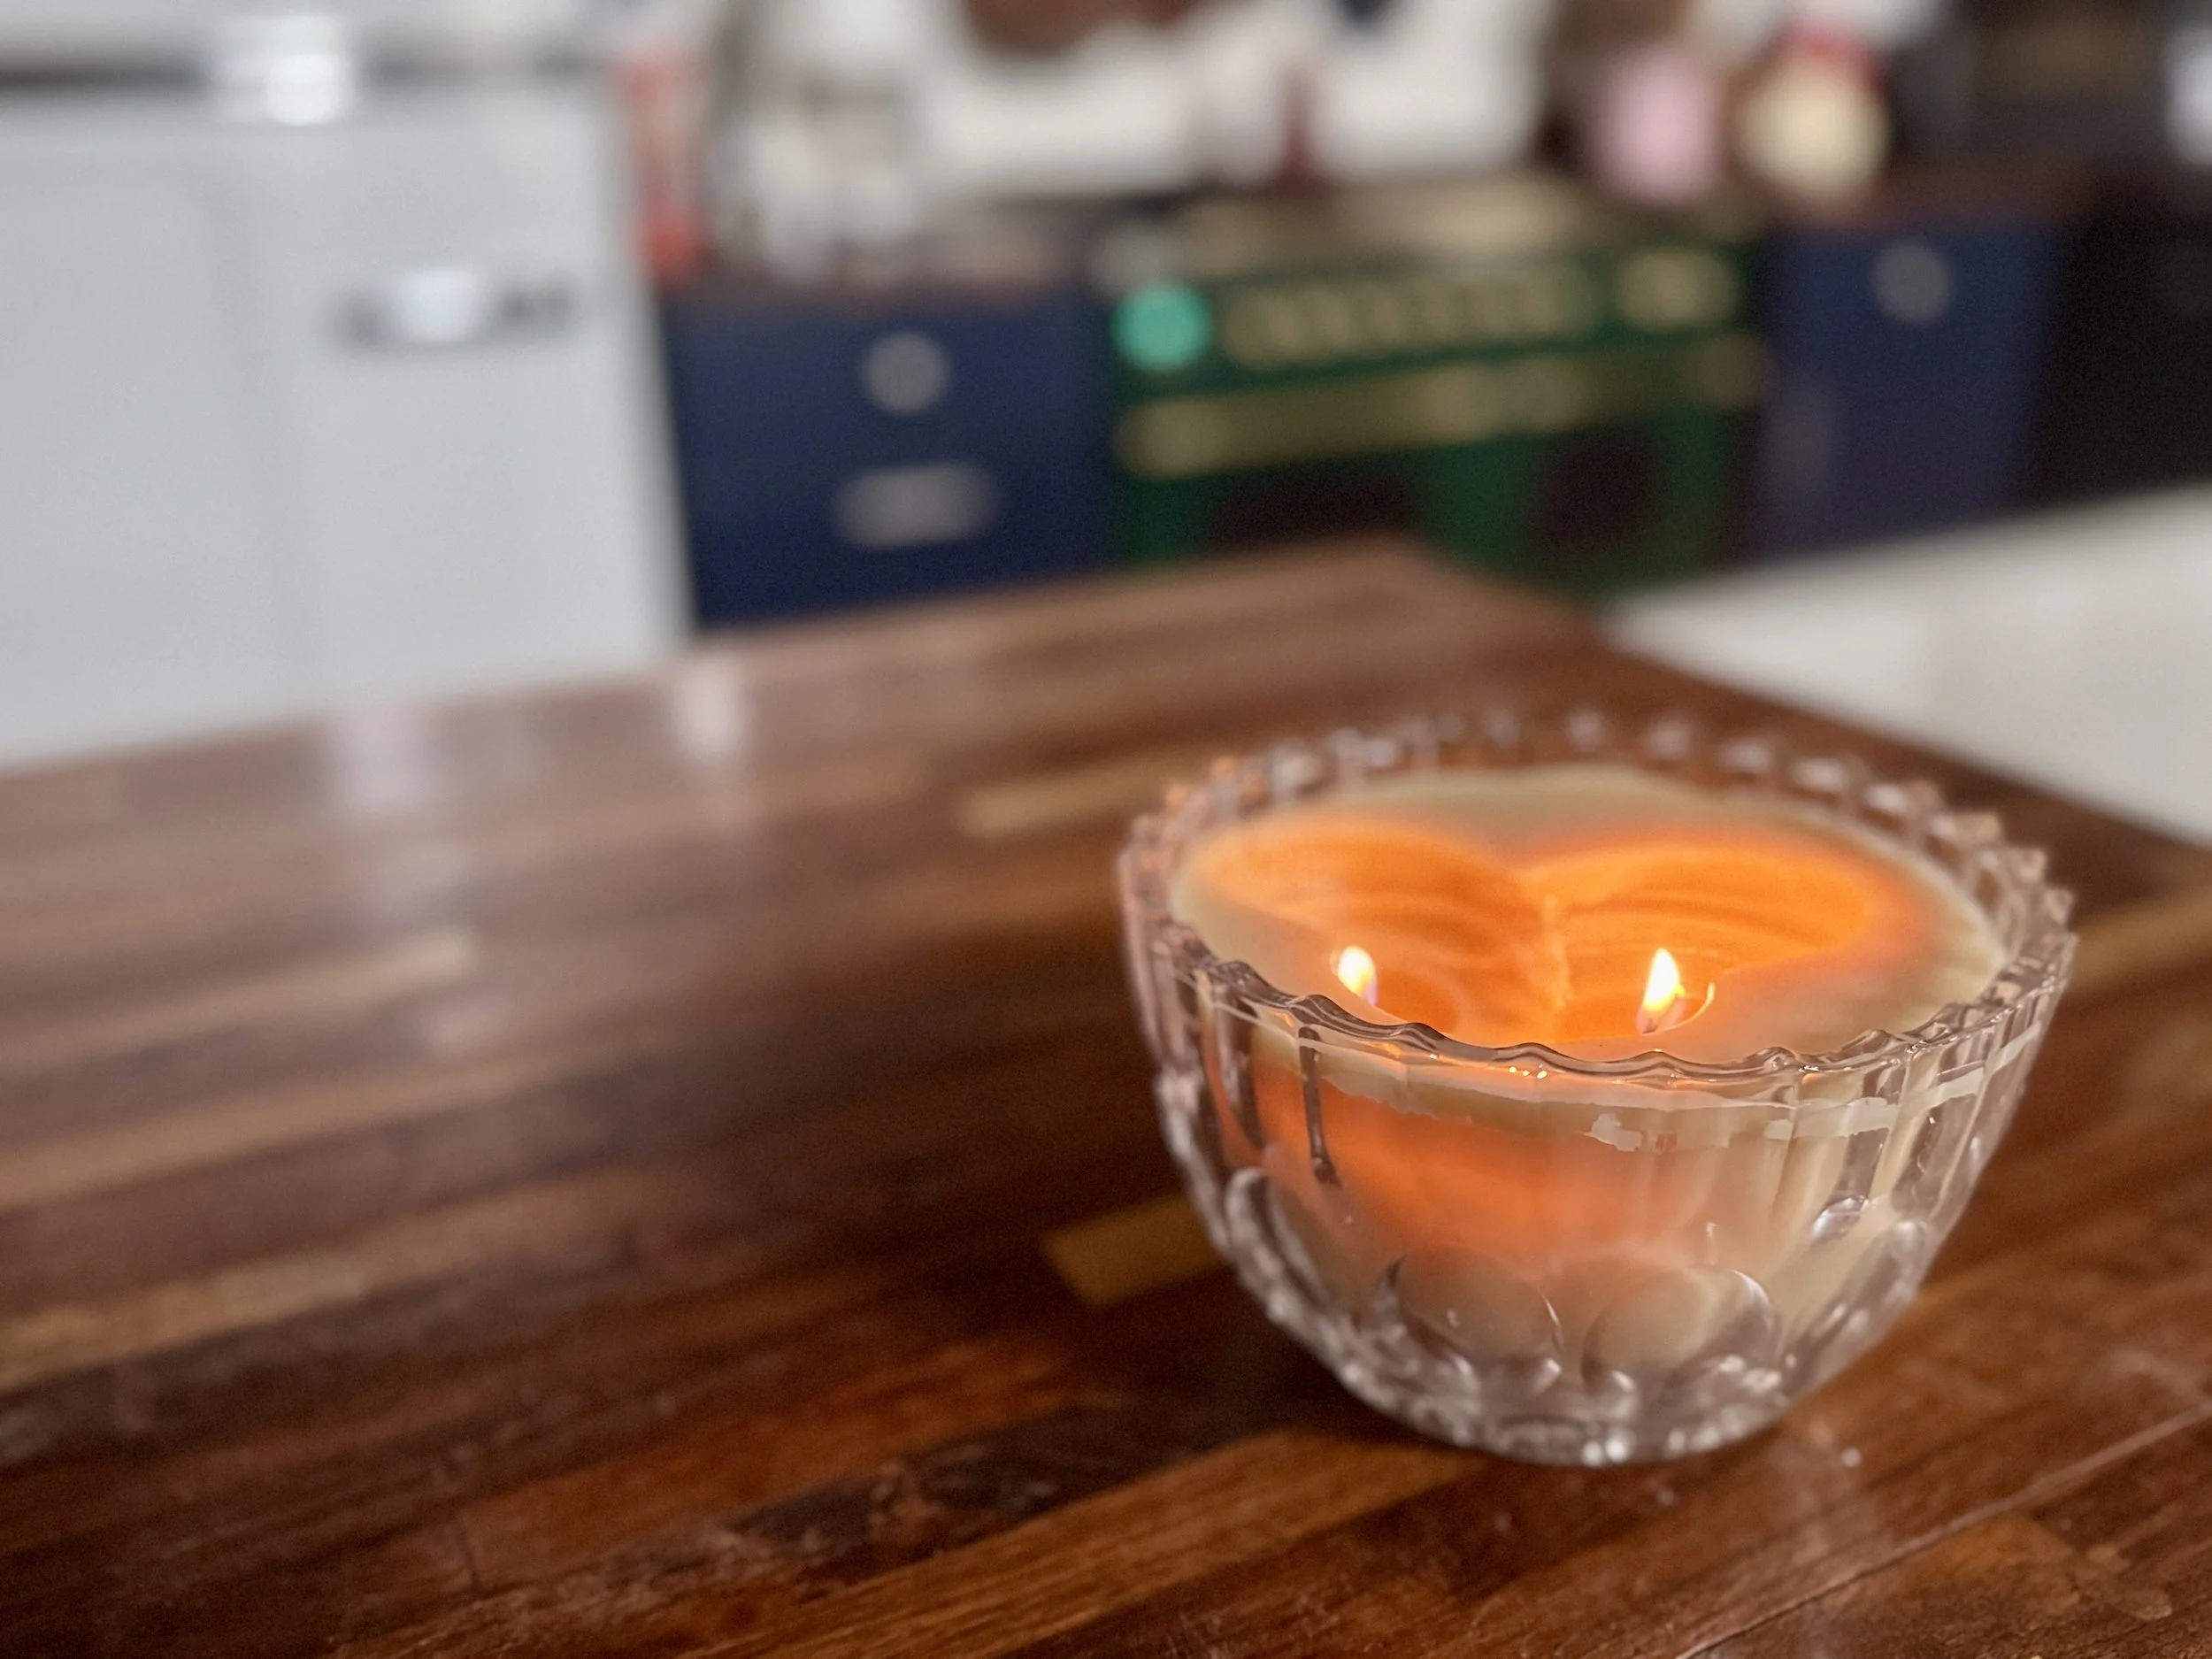
When the house smells like honey and wax, you know it’s been a good day. Light one, pour one, and call it self-care (the beekeeper’s kind).
Bringing It Full Circle
Every beeswax bar we pour in the farmstand comes straight from our hives — cleaned, molded, and ready for your next project. Whether you’re pouring candles, waxing thread, or sealing letters (yes, really), it’s a sweet reminder of the bees that make it all possible.
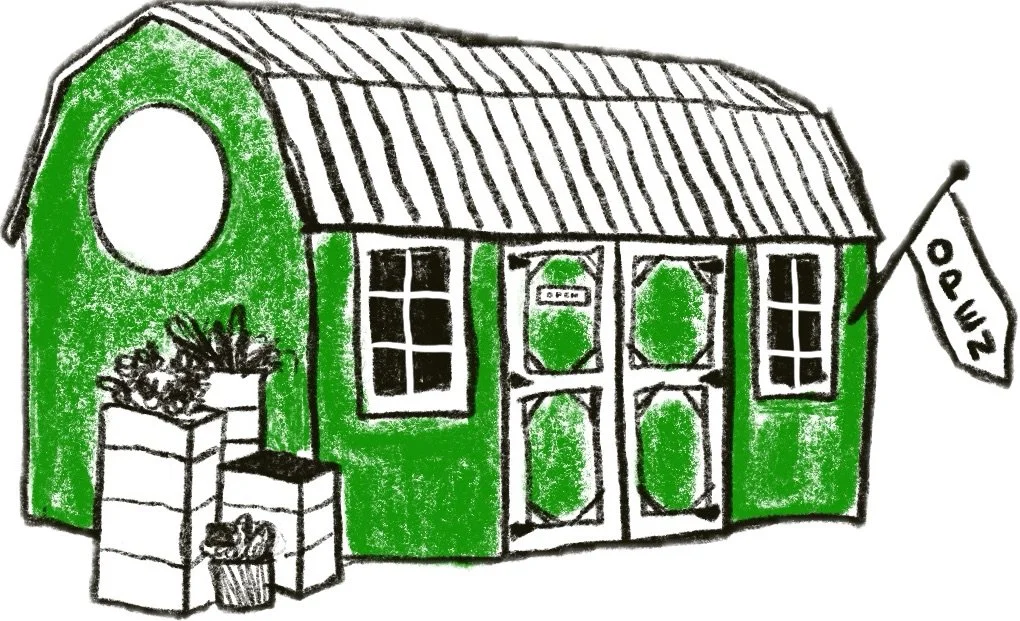
Find beeswax bars at the Fat Head Farmstand — ready for your next cozy project.
“There’s something magical about creating light with your own two hands — especially when that light comes from the hive.”